
These instructions explain how to create virtual machines (VMs) in the Microsoft Azure environment that are suitable for running NGINX Open Source and NGINX Plus.
The names and other settings used in this guide are appropriate for the high‑availability deployment described in Active-Active HA for NGINX Plus on Microsoft Azure Using the Azure Standard Load Balancer, but the VMs can be used for any purpose.
For NGINX Plus, a faster alternative is to purchase a prebuilt VM in the Microsoft Azure Marketplace (several current operating systems are available). For instructions, see Installing NGINX Plus on Microsoft Azure.
Prerequisites
These instructions assume you have:
- An Azure account.
- An Azure subscription.
- An Azure resource group. In this guide, it is called NGINX-Plus-HA.
- An Azure virtual network.
- If using the instructions in Automating Installation with Ansible, basic Linux system administration skills, including installation of Linux software from vendor‑supplied packages, and file creation and editing.
In addition, to install NGINX software by following the linked instructions, you need:
- An NGINX Plus subscription, either paid or a 30‑day free trial, if you plan to install that product.
rootprivilege on the hosts where NGINX Open Source and NGINX Plus are to be installed. If appropriate for your environment, prefix commands with thesudocommand.
Creating a Microsoft Azure Virtual Machine
- Access the Microsoft Azure portal (https://portal.azure.com/) and sign in.
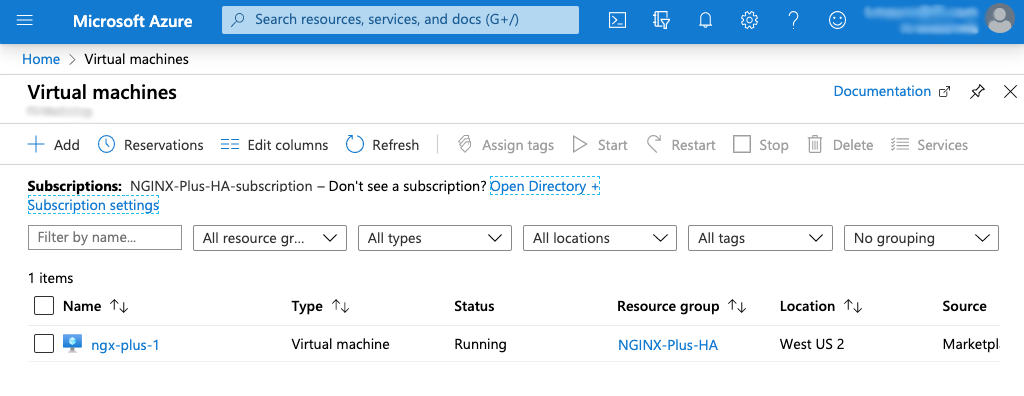
- Click the Virtual machines icon. (If that icon doesn’t appear at the top of your window, click the stacked‑lines icon in the upper left corner of the title bar and click Virtual machines in the navigation column that opens at left.)
- On the Virtual machines page that opens, click + Add in the upper left corner.
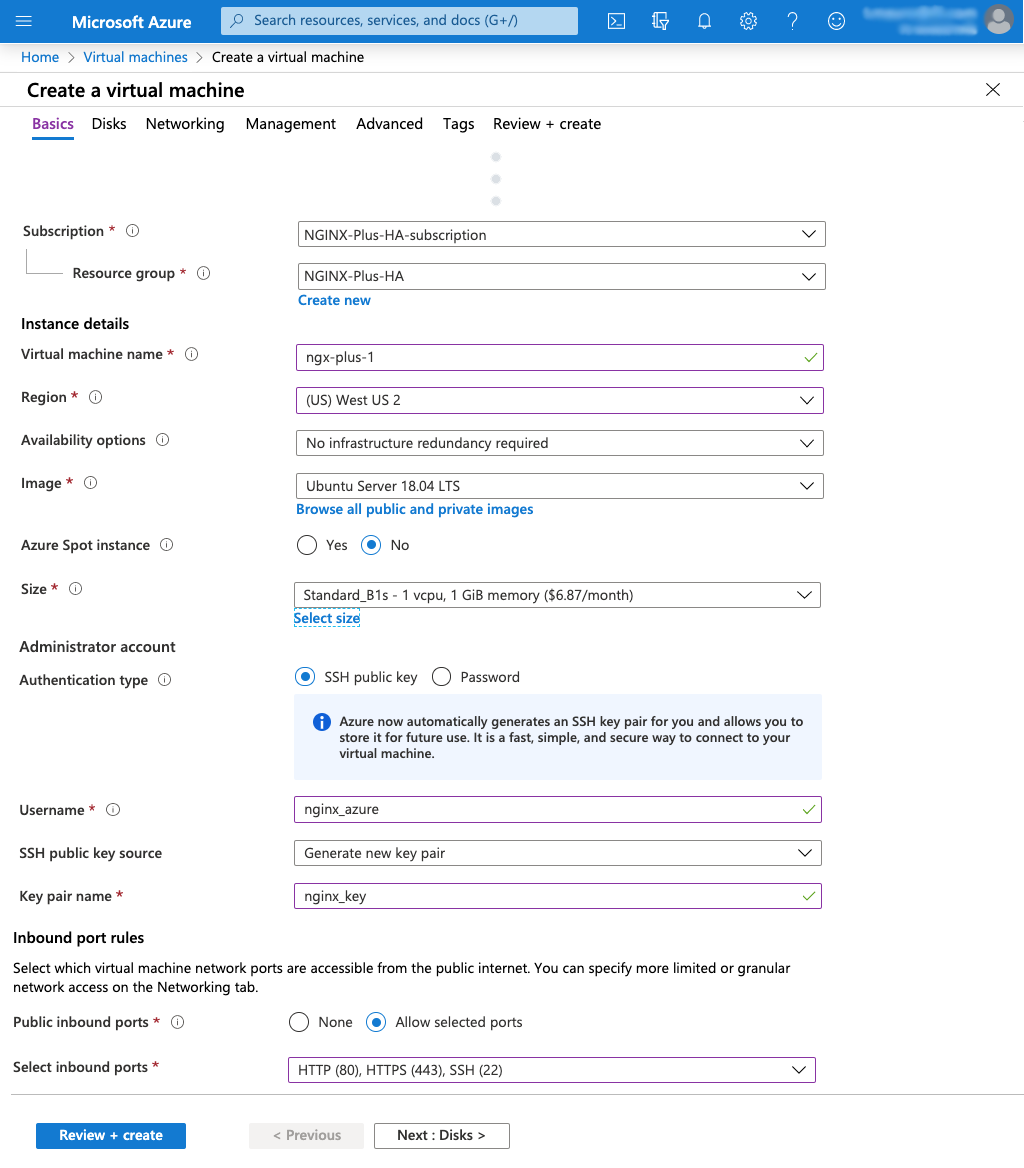
- In the Create a virtual machine window that opens, enter the requested information on the Basics tab. In this guide, we’re using the following values:
- Subscription – NGINX-Plus-HA-subscription
- Resource group – NGINX-Plus-HA
- Virtual machine name – ngx-plus-1The value ngx-plus-1 is one of the six used for VMs in Active-Active HA for NGINX Plus on Microsoft Azure Using the Azure Standard Load Balancer. See Step 7 below for the other instance names.
- Region – (US) West US 2
- Availability options – No infrastructure redundancy requiredThis option is sufficient for a demo like the one in this guide. For production deployments, you might want to select a more robust option; we recommend deploying a copy of each VM in a different Availability Zone. For more information, see the Azure documentation.
- Image – Ubuntu Server 18.04 LTS
- Azure Spot instance – No
- Size – B1s (click Select size to access the Select a VM size window, click the B1s row, and click the Select button to return to the Basics tab)
- Authentication type – SSH public key
- Username – nginx_azure
- SSH public key source – Generate new key pair (the other choices on the drop‑down menu are to use an existing key stored in Azure or an existing public key)
- Key pair name – nginx_key
- Public inbound ports – Allow selected ports
- Select inbound ports – Select from the drop-down menu: SSH (22) and HTTP (80), plus HTTPS (443) if you plan to configure NGINX and NGINX Plus for SSL/TLS
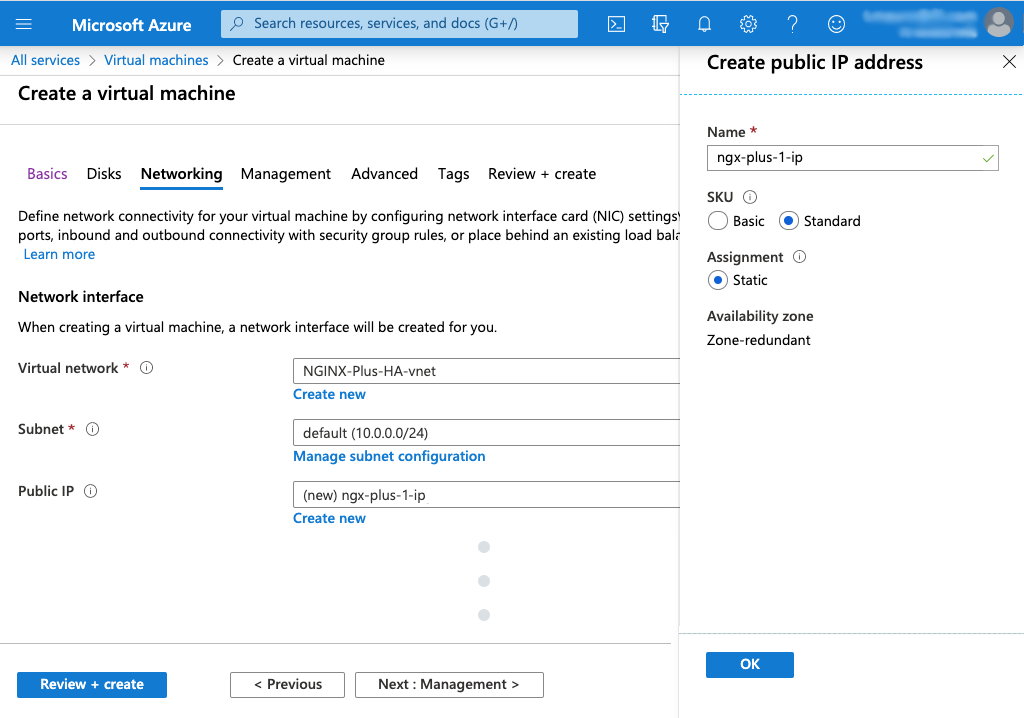
- If you are creating VMs to use in Active-Active HA for NGINX Plus on Microsoft Azure Using the Azure Standard Load Balancer, the two NGINX Plus VMs in that deployment must have public IP addresses with SKU type Standard instead of the default Basic.For simplicity, we recommend allocating Standard public IP addresses for all six VMs used in the deployment. At the time of initial publication of this guide, the hourly cost for six such VMs was only $0.008 more than for six VMs with Basic addresses; for current pricing, see the Microsoft documentation.To allocate a Standard public IP address, open the Networking tab on the Create a virtual machine window. Click Create new below the Public IP field. In the Create public IP address column that opens at right, click the Standard radio button under SKU. You can change the value in the Name field; here we are accepting the default created by Azure, ngx-plus-1-ip. Click the OK button.
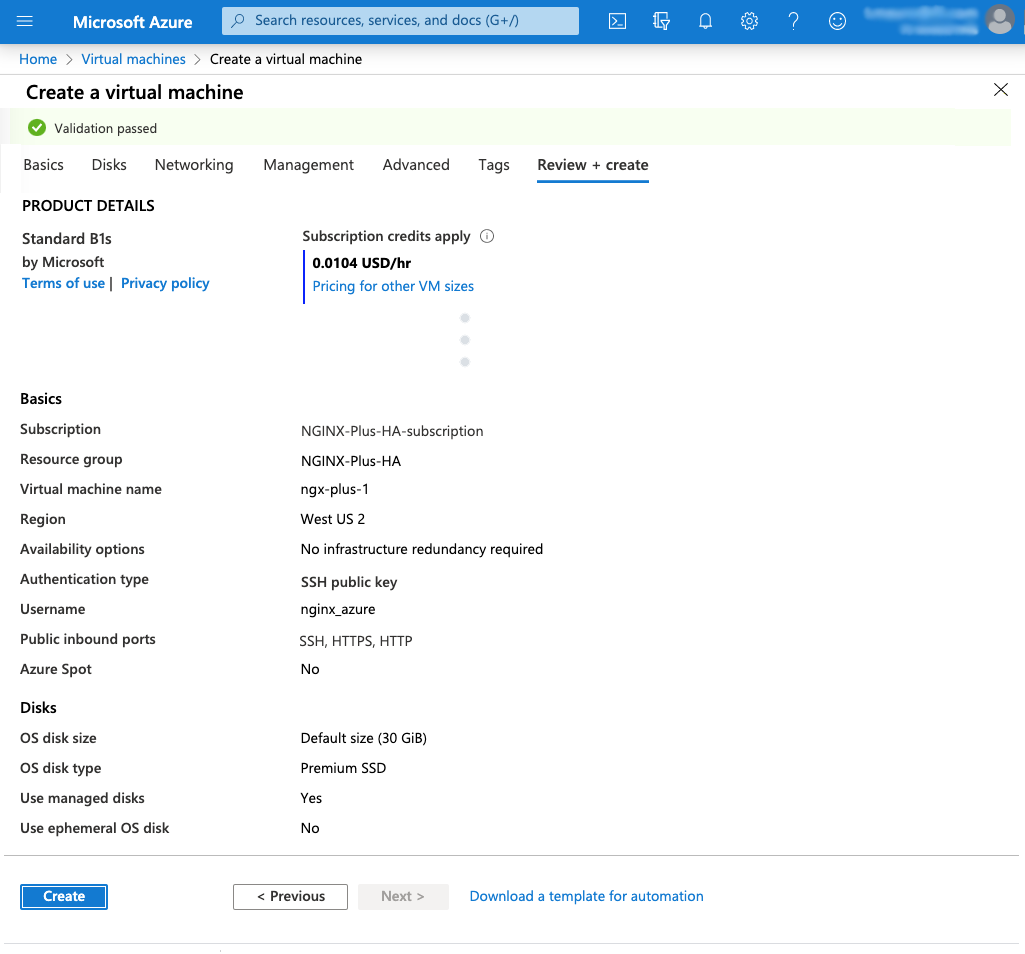
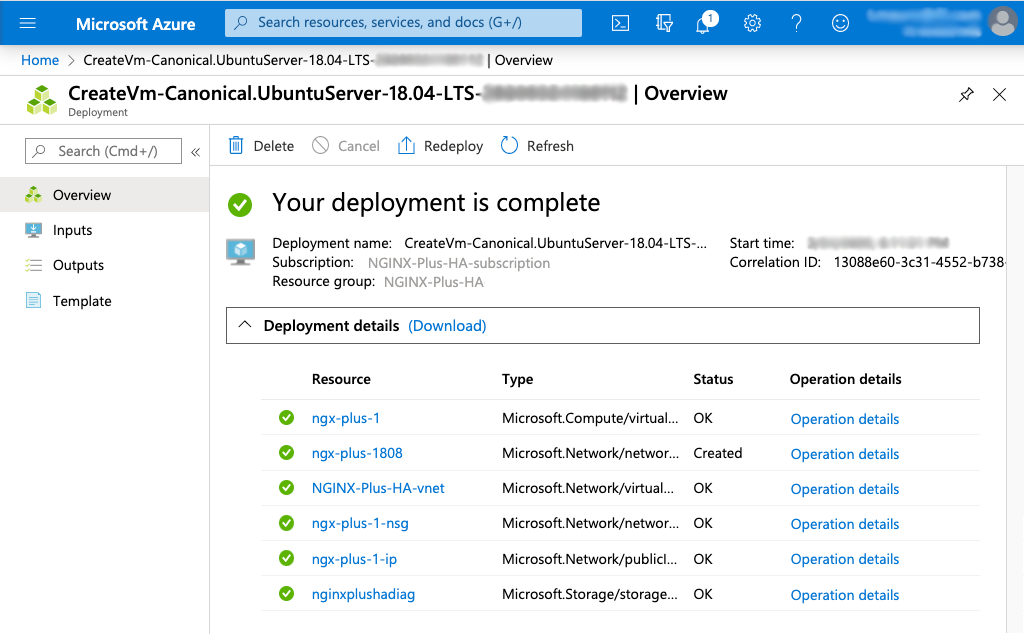
- At this point, you have the option of selecting nondefault values on the Disks, Networking, Management, Advanced, and Tags tabs. For a demo like the one in this guide, for example, selecting Standard HDD for OS disk type on the Disks tab saves money compared to the default, Premium SSD. You might also want to create or apply tags to this VM, on the Tags tab.When you have completed your changes on all tabs, click the Review + create button at the bottom of the Create a virtual machine page.If all of your settings are valid, a summary of them appears under the Validation passed banner, as in the following screenshot.To change any settings, open the appropriate tab. If the settings are correct, click the Create button.If you chose in Step 4 to generate a new key pair, a Generate new key pair window pops up. Click the Download key and create private resource button.It takes a few minutes for a VM to deploy. When it’s ready, a summary of associated resources appears, as in the following screenshot.
- If you are following these instructions to create the six VMs used in Active-Active HA for NGINX Plus on Microsoft Azure Using the Azure Standard Load Balancer, their names are as follows:
- ngx-plus-1
- ngx-plus-2
- ngx-oss-app1-1
- ngx-oss-app1-2
- ngx-oss-app2-1
- ngx-oss-app2-2
Connecting to a Virtual Machine
To install and configure NGINX Open Source or NGINX Plus on a VM, you need to open a terminal window and connect to the VM over SSH.
- Navigate to the Virtual machines page on the Azure dashboard and click the VM’s name in the Name column of the table.
- On the page that opens (ngx-plus-1 in this guide), note the VM’s public IP address (in the Public IP address field in the right column).
- Run this command to establish an SSH connection to the VM:
$ ssh -i <private-key-file> <username>@<public-IP-address>where<private-key-file>is the name of the file containing the private key paired with the public key you entered in the SSH public key field in Step 4 of Creating a Microsoft Azure Virtual Machine.<username>is the name you entered in the Username field in Step 4 of Creating a Microsoft Azure Virtual Machine (in this guide it is nginx_azure).<public-IP-address>is the address you looked up in the previous step.
Installing NGINX Software
Once you have established a connection with an instance, you can install the NGINX software on it. Follow the instructions in the NGINX Plus Admin Guide for NGINX Open Source and NGINX Plus. The Admin Guide also provides instructions for many maintenance tasks.
Automating Installation with a Configuration Manager
You can automate the installation of NGINX Open Source and NGINX Plus. Instructions for Ansible are provided below. For Chef and Puppet, see these articles on the NGINX blog:
- Installing NGINX and NGINX Plus with Chef
- Deploying NGINX Plus for High Availability with Chef
- Installing NGINX and NGINX Plus with Puppet
Automating Installation with Ansible
NGINX publishes a unified Ansible role for NGINX Open Source and NGINX Plus on Ansible Galaxy and GitHub. Perform these steps to install and run it.
- Connect to the VM.
- Install Ansible. These commands are appropriate for Debian and Ubuntu systems:
$ apt update $ apt install python-pip -y $ pip install ansible - Install the official Ansible role from NGINX:
$ ansible-galaxy install nginxinc.nginx - (NGINX Plus only) Copy the nginx-repo.key and nginx-repo.crt files provided by NGINX to ~/.ssh/ngx-certs/.
- Create a file called playbook.yml with the following contents:
--- - hosts: localhost become: true roles: - role: nginxinc.nginx - Run the playbook:
$ ansible-playbook playbook.yml